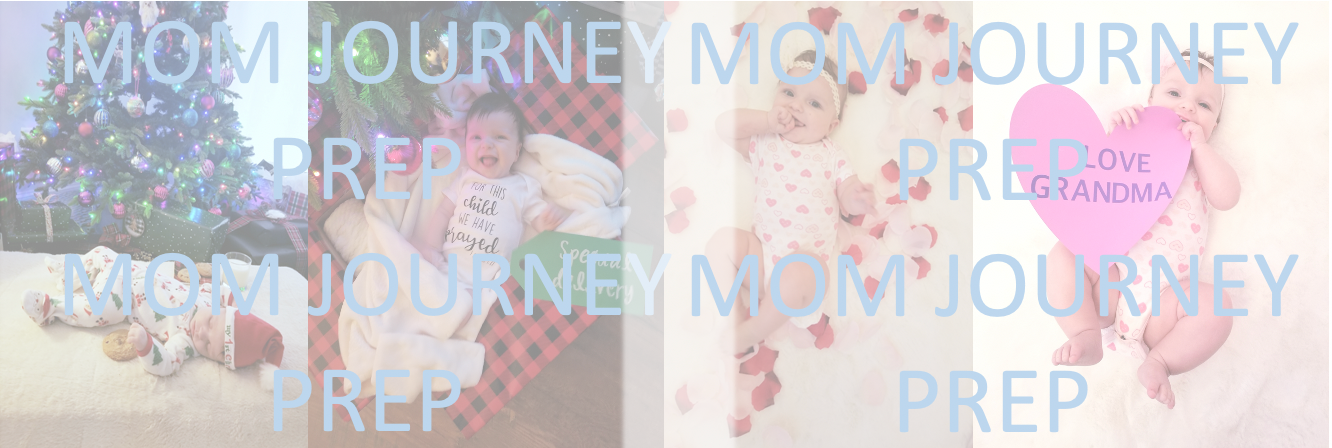
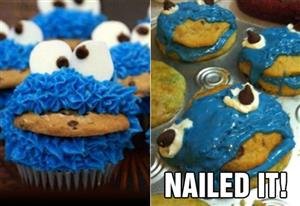
Sometimes when I need a good laugh, I’ll look at Pinterest “nailed it” photos. Usually these are side-by-side with the beautiful, perfect original Pinterest image, and then there’s the nailed it photo: the failed attempt to recreate perfection.
As a mom, I often feel like a failed attempt. I’ll be having a happy moment playing with Berry only to have it end with her in tears because she hit herself in the face with a toy. There was the time I was so proud of myself for baking cookies with a newborn, and thought, “take that Martha Stewart!” only to drop the eggs on the floor…the floor I had vacuumed and mopped just hours before.
Thankfully, Berry’s smiles outweigh her tears and I only drop raw eggs on the floor a couple times a year. Wouldn’t it be nice though to have Pinterest-worthy pictures, especially those cute, baby ones? Pictures you can share on social media that make your friends and family say, “wow!” If you have a camera, even if it’s just the one on your cellphone, you can successfully recreate those Pinterest baby photo ideas! Ready to capture your beautiful baby like a pro? Read my tips below!
Finding Poses You Like
To start, find pictures you like. I am a big advocate of Pinterest. If you’re unfamiliar, it is a free site that allows you to save (aka pin) images, recipes, ideas to a “board” so you can easily access them at a later time. I like to find my baby picture ideas via Pinterest, but you can also Google ideas and save them to your computer or in your phone’s photo gallery.
Be Realistic
There I was scrolling through my phone and saving baby milk bath photo after baby milk bath photo. I could picture Berry sitting in a farmhouse sink filled with milk and flower petals…but then, reality washed those thoughts down the drain! I don’t have a farmhouse sink. I have a stainless-steel sink surrounded by unsightly countertops. There was no way I could recreate those images.
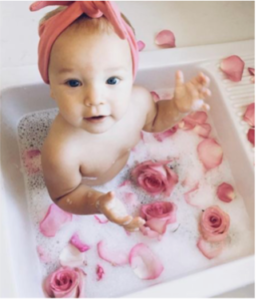
While you’re looking for poses, be realistic. Ask yourself what you like about the picture. Is it the background, the props or the baby’s pose? Is it the old vintage bathtub (the one you don’t have)? If you cannot recreate the photo, move on.
Be realistic of the baby’s pose in the pictures as well. Will your baby be able to sit up on their own? Will they be too large to lay down in a basket? If they are too young or old for a picture, adapt or move on.
Setting Up
Before bringing your baby to their photo op, it is best to setup any props and take practice shots. I use a teddy bear and see what angles look best. I look to see if anything in the background needs moved and if any other adjustments are needed. Attempting to do these things with your baby can cause them to be fussy before you’re even ready to snap the photo!
Hot Tip: If you’re placing your baby in a basket or container, roll bath towels tightly and cover with a blanket to prop up your baby. It will also make then more comfortable.
Lights, Camera, Action!
You’ve setup all your props and did a few practice shots with your camera. Everything is good to go. Now all you need is the star: your baby!
Try to time your photoshoot based on your baby’s temperament. For awake pictures, try to schedule when your baby is most happy. For asleep pictures, make sure baby is in a deep sleep and not during a post-feeding, quick nap.
Especially when taking pictures with a cellphone, we tend to hold the phone down at waist level. Hold your phone or camera close to your face. This way when your little one looks at you, they’ll also be looking directly at the camera.
My main advice for the perfect shot: keep tapping the capture button! I’m talking one second intervals, because that’s all it takes for the difference between a grimace and a smile! I take about 30 pictures for a single pose. Trust me, it’s worth deleting the not-so-great images afterward in order to have the perfect shot.
If your baby will not smile no matter what you do, take a break! I recommend changing your baby’s photo outfit or putting a bib on to prevent spit-ups. Don’t wait through a laundry cycle because of an accident!
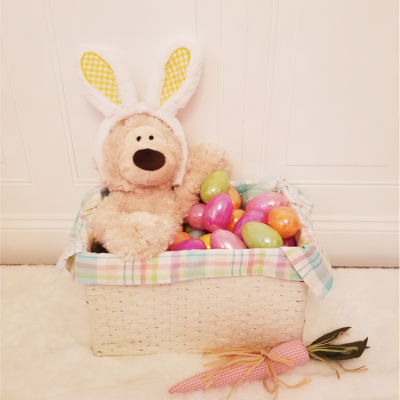
Staged photos take time! There are times I come back to a staged setup two or three times a day depending on Berry’s mood. I almost always end up adjusting the setup too. Notice the pictures below I started with Easter eggs, but replaced them with carrots because I thought it looked better. You can also notice Berry’s mood change!

Safety First!
Remember most props are not safe for babies. Flower petals, glittery decorations, and paper products among others can easily become choking hazards or cause scratches on babies’ delicate skin. Some helpful safety tips:
- Don’t leave baby unattended with props
- Have someone else present to assist
- Feel over anything your baby will come in contact with for rough or sharp surfaces
- Line baskets with a blanket, towel or cloth to protect baby from rubbing against the sides
- Try to prevent baby putting prop items in their mouth (can be challenging!)
- Give your baby a bath after coming into contact with props and glittery fabrics
Using Photoshop
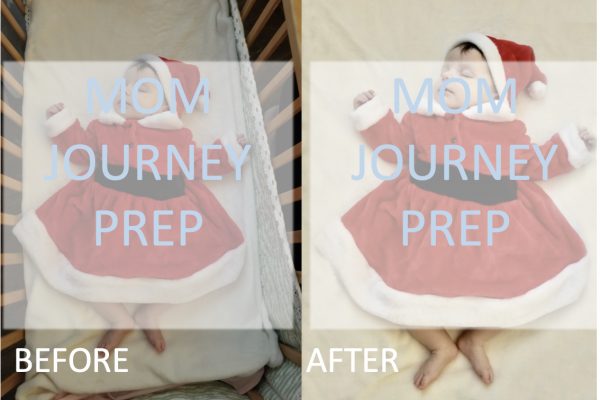
Photoshop your baby? No, they’re perfect! Photoshop the background? Yes!
I had the best picture of Berry. She had the brightest smile. Only problem is, there was a pile of clothes behind her (I was putting away laundry, don’t judge). Luckily, it took only five minutes to edit the laundry pile out using Photoshop.
At first Photoshop may seem intimidating, but there are numerous tutorials online. To adjust the background, you just need to learn one tool: the clone stamp. To see how to use it watch this video!
The Adobe Photoshop basic application offers a monthly subscription for around $10 a month and a free 30-day trial. There are Facebook Photoshop groups where you can request your photo to be photoshopped, however, you’re exposing your baby’s picture to strangers, some of whom are trolls. It’s also not guaranteed someone will do the work.
Saving Money: Monthly Milestones
I knew I wanted to take the monthly photos of Berry, but life was so crazy during the first month! It was 8 p.m. on her first month milestone. “Oh my goodness,” I cried, “I forgot to take the picture!”
I never came around to ordering milestone placards. I didn’t have the blanket with the months listed. I was stuck. So, I improvised and honestly, I loved what I ended up doing.
I am a scrapbooker. I went to my cabinet of supplies and found a decorative piece of scrapbook paper and slapped a glittery number one in the center. Boom! It was perfect!
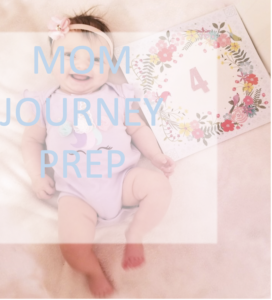
You can buy a piece of decorative paper for about 10 cents at a craft store and medium to large number decals for a few dollars. Save your money on the milestone placards that you are going to discard anyway after the baby surpasses that month. I use the same piece of paper and replace the number. It takes seconds to do!
If you’re not a scrapbooker and find yourself in my predicament, create a milestone sign on PowerPoint or another design platform and print!
Saving Money: Holiday Pictures
You can create signs for any occasion. Instead of buying a “Happy Father’s Day” outfit that your baby will wear once, make a sign that says it and place it next to your baby. If you want to take a Saint Patty’s day photo, buy a green outfit instead of one specific to the holiday. This way your baby can wear it a few more times before their next growth spurt.
Happy picture taking!
