“It’s right there!” I exclaimed. “It’s right where I said it was, second shelf on the right, yellow box!” Once again, I had to stop what I was doing to show my husband where an item was, which was in the exact spot I told him to find it!
Then I have my visitors who always want to help. “Sure, can you help me with the dishes?” I ask. Then comes all their questions: “Where is your dish rack? Where do the bowls go? Do you have another towel? Is this dishwasher safe?” They mean well, but by the time I answer all the questions I could already have done the dishes myself.
Have you found yourself in these frustrating situations? I want to tell you that saying, “it’s easier for me to just do it than to ask for help” is a big fat lie. It took me a long time to realize that. Your friends and family can’t help you if you don’t help them. With some basic organization, you can help them and make your life easier!
You can implement my organizational advice below at any stage of your journey, however, organizing before your baby arrives can be extremely beneficial. When the baby is first born is a time when others want to help you the most and you’ll need it the most.
Discard or Move Hardly Used Items
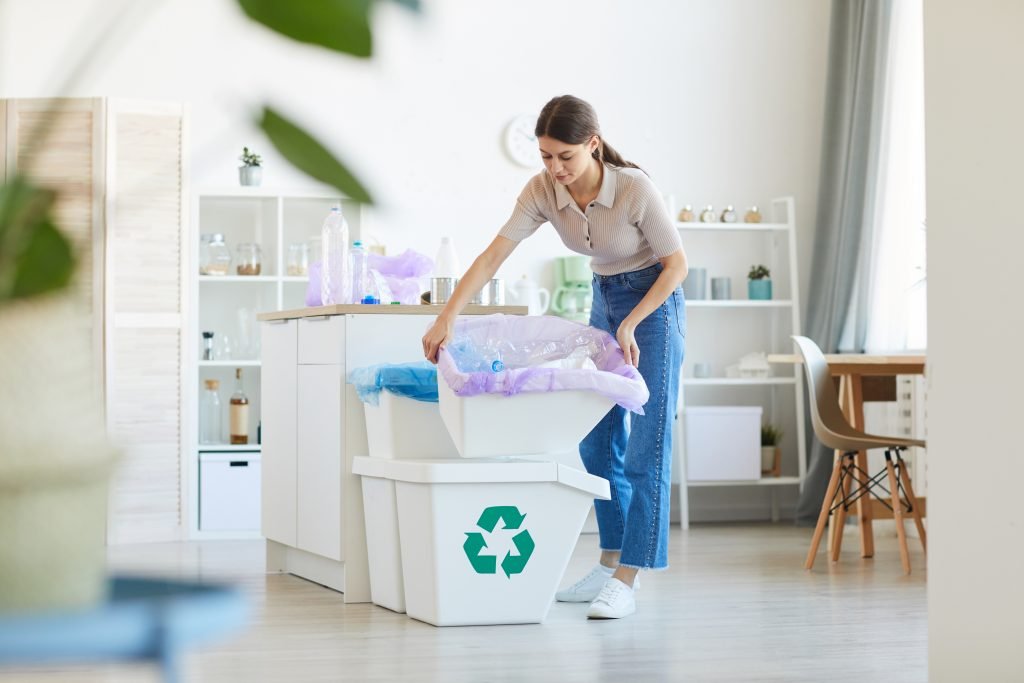
The first step to organization is the removal of clutter. Need motivation? Well, with all the new baby gear you’ll be buying, you’re going to need to free up some space!
Kitchen cabinets and drawers are a primary culprit of housing never-used gadgets. I didn’t realize how bad my kitchen drawer was until I emptied everything out. There were the meat claw shredders I bought on a whim, the cheese cutlery set I was gifted a few Christmases ago and the crème brulee torch; all of which were never used.
There are three options for hardly used items: start using them, discard/donate them, or place them in storage. I chose the latter. I placed my gadgets in a plastic storage bin and stowed them with my holiday baking supplies in the basement. I have not missed them since, but when I decide to throw a wine and cheese party someday, my cheese cutlery set is there waiting for me!
I recommend going through your home one area at a time and remove items you don’t use or rarely use. With clutter out of the way, regularly used items become easily seen and accessible!
Hot Tip: If you are expecting, look for areas to store the baby items you are registering for during this process.
Store Items by Location
This may seem obvious, but it is easy to place things haphazardly. It’s common to keep placing things in a poor location because “that’s where I always put them.” New purchases from the store may be placed in the first empty space seen without any thought. These actions can make everyday life inefficient.
My hallway closet was deemed the cleaning supply closet since I moved in my house. Every time I would clean my bathroom, I would walk across the hall and gather up the toilet bowl gel, the shower foam and mirror cleaner. Now, it’s only 15 steps or so to the closet, but I realized one day that this doesn’t make sense. I chose to move those items underneath my bathroom vanity instead.
Supposing it took 30 seconds to gather my cleaning supplies in the hallway closet and I cleaned my bathroom twice a week, I saved myself about 52 minutes a year by relocating the supplies.
Items should be placed where or near they will be used the Most
Imagine you are a guest in your home, and you want help by taking out the trash. Where would you look first for trash bags? The answer is probably somewhere near the trash can. Consider your answer as the place to relocate the trash bags if not already there.
Putting yourself in your visitor’s shoes will help you organize your belongings by where they should be placed. Now, check to see if items are clearly visible. If you didn’t know where they were, would you be able to find them? Labels and containers can help!
Using Labels and Containers
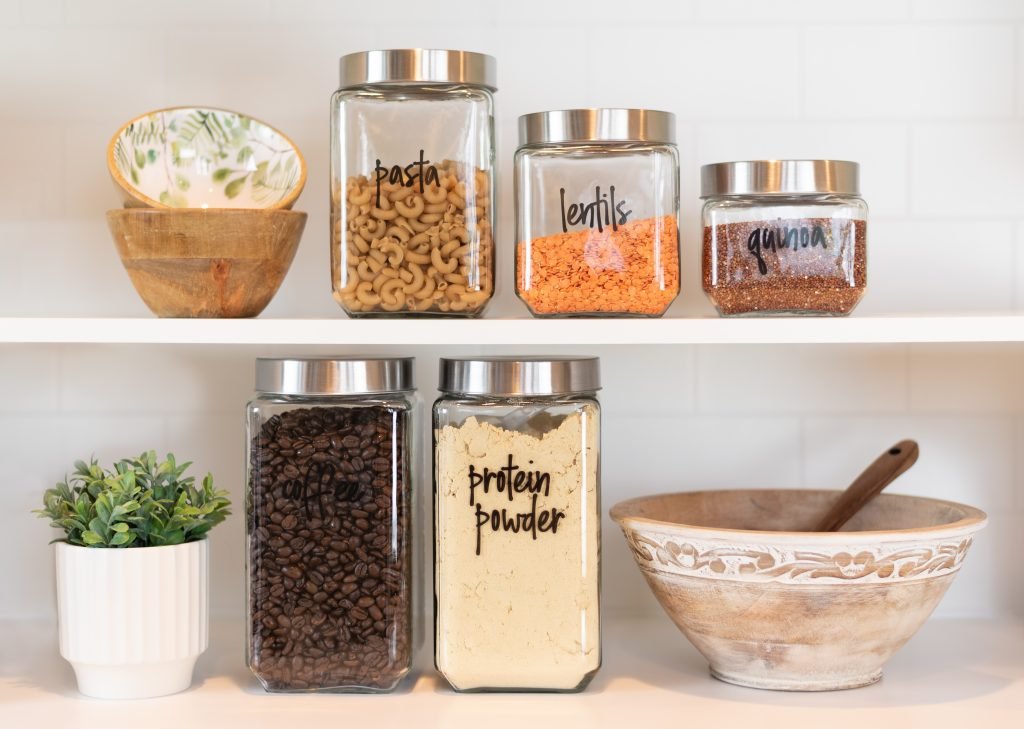
Labels and containers are not only staples in organization, but they are also fun and stylish! The type of container you will use is up to you, however, keep these points in mind:
- Containers with lids allow for stacking (more items stored in an area).
- Solid containers create a better aesthetic when multiple types of items are contained.
- Baskets allow for easy access of materials.
- Explore organizational items designed for a particular item for more efficiency (can holder, battery container, etc.)
Labels need to be easily seen and read. Because of this, I advise to skip handwriting labels and instead print them, use a cutting machine to make vinyl labels, or order off of Etsy.
Labeling with an image works well for containers dedicated to holding one type of item. Clipart is great because of its simplicity and can be used in my method of making labels.
I enjoy creating many of my labels using PowerPoint. I add clipart and a text box, place them in an unfilled rectangle so I can cut the outline, and then I print and laminate them. If this is your main form of labeling, a laminator machine is a good investment. You can find many for under $30. I use this one. Once laminated, I place command strips on the back and stick.
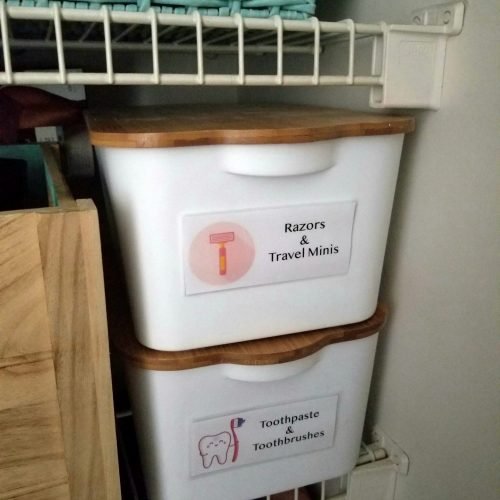
Hot Tip: If using my method above, cut one command strip in pieces and place in the corners and center of your label. Depending on the label size, you may use less than one strip, saving you money!
Make a Map
Creating a map of where items are is especially beneficial if you will be recovering or in the hospital for an extended amount of time (C-section, NICU). It can also assist hired cleaning services or a nanny.
Create a map for the main storage areas of your home: kitchen, closets, pantries, shelf racks, etc. Your map will serve as a basic blueprint so keep it simple. For example, categorize a pantry shelf as having canned food, not: green beans, soup, diced tomatoes
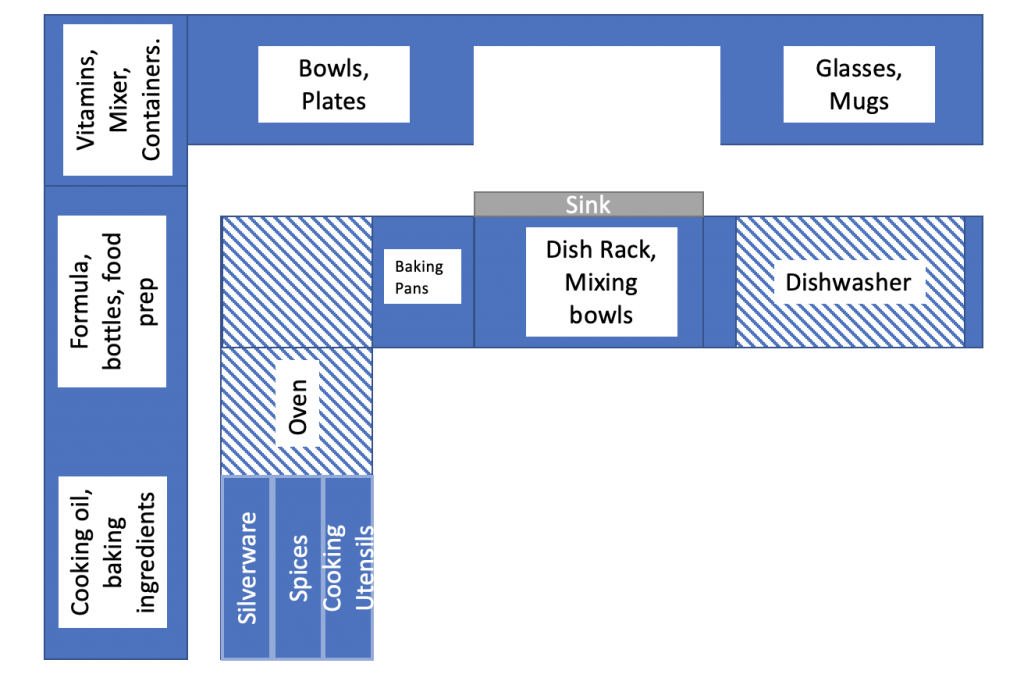
A basic map will take about 5-15 minutes. Once finished, display your map in an easily seen location such as the refrigerator or inside or near closets. Tell whoever is helping you that you have created these and show them where they are located.
Ok, moms and moms-to-be, let's get organized!
Please note, I only recommend products I have personally used. I also receive commissions on qualifying purchases as an Amazon affiliate when readers purchase products by clicking on the links provided in blue!

